If you want the short version: bring water to a full boil, lower eggs in with a spoon, drop the heat to a gentle simmer, cook for 12 minutes, then move them straight into an ice bath. That single change — boiling first, then simmering, instead of simmering the whole way through — is the difference between eggs that peel cleanly every time and a pot of frustration.
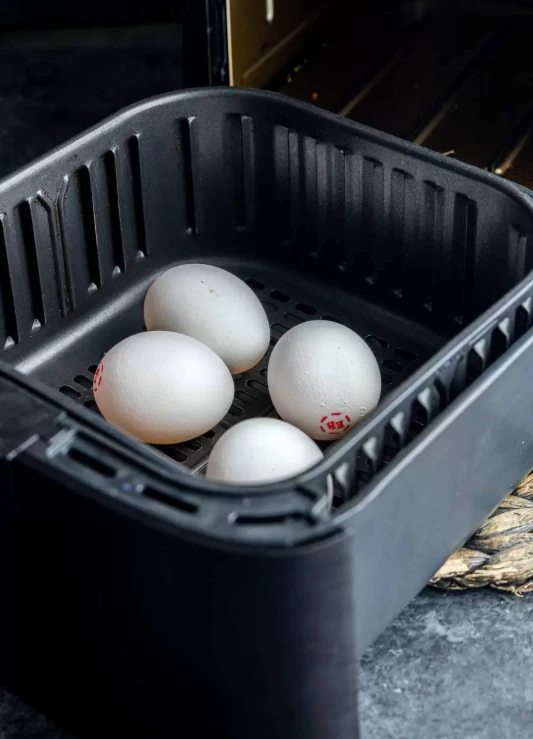
I’m Maren Ashby, and I’ve spent enough years in professional test kitchens to know that “boil an egg” sounds simple right up until six different cooks give you six different methods, all insisting theirs is correct. So I bought several dozen eggs, picked two reliable brands for consistency, and ran six methods at least twice each — cold-start simmering, air frying, the Instant Pot, a hard rolling boil, boil-then-simmer, and steaming — judging every batch on texture, peelability, and how repeatable the results actually were.
The Two Methods Worth Trusting
Out of six approaches, two produced eggs with firm, tender whites and creamy, fully set yolks every single time, with shells that came off in large, clean pieces instead of shredding the white underneath. Steaming edged out boil-then-simmer only because it’s harder to mess up — there’s no moment where you’re lowering eggs into violently bubbling water and hoping none of them crack. If you already own a steamer basket, use it. If you don’t, boiling-then-simmering gets you the identical result for the cost of a slotted spoon and a little more attention.
Why Hard-Boiling Eggs Is Trickier Than It Looks
Egg whites and yolks don’t set at the same rate, which is the entire reason method matters here. Cook them too aggressively for too long and the whites turn rubbery while the yolk’s edge develops that grayish-green ring — a sign the egg sat in heat past the point it needed to. Cook them too gently or unevenly, and you get a white that’s still loose near the shell while the yolk inside is already overdone. Most of the failed methods I tested didn’t fail because the technique was bad in theory; they failed because they introduced variables — inconsistent burner heat, uneven hot spots, timing that depended on equipment you’d have to recalibrate yourself.
How the Six Methods Stacked Up
| Method | Total time | Peeled cleanly? | How it performed |
| Cold-start simmer | 25 minutes | Worst of the group | Inconsistent between batches, yolk often overcooked |
| Air fryer | 23 minutes | Mixed | Basket-style worked well; toaster-style had hot spots |
| Instant Pot | 25 minutes | Good | Reliable, but a lot of setup for a few eggs |
| Rolling boil | 20 minutes | Good | Excellent texture, but eggs cracked occasionally |
| Boil-then-simmer | 20 minutes | Excellent | Perfect, consistent results every batch |
| Steaming | 20 minutes | Excellent | Same quality as boil-then-simmer, lower effort |
Where the Cold-Start Method Falls Apart
Starting eggs in cold water and bringing the whole pot up to a boil together is probably the most common method out there, and it’s also the least consistent one I tested. The problem isn’t the technique itself — it’s that every stovetop heats water at a slightly different rate. That means the eggs spend an unpredictable amount of time sitting in near-boiling water before the timer even starts counting, and that gap compounds across batches. My first attempt was tough to peel with an overcooked yolk; later attempts improved but never matched the texture of the top two methods, and they consistently came out the hardest to shell.
What the Air Fryer Actually Gets Right (and Wrong)
Cooking eggs at 250°F in a basket-style air fryer for 15 minutes produced genuinely good results — tender whites, well-set yolks, no chalky texture. The issue showed up in a toaster-oven-style air fryer instead, where uneven heat distribution left some whites rubbery depending on where the eggs sat. If you’re going to try this method, a basket-style unit is the safer bet, and you’ll still need to test your specific model since wattage and airflow vary enough to shift the ideal time by a few minutes either direction.
Is an Instant Pot Worth It for Eggs Alone?
Five minutes on high pressure, followed by a five-minute natural release, turned out perfectly cooked, easy-to-peel eggs with very little hands-on effort. The catch is practical rather than technical: hauling out a multi-cooker, fitting a steamer basket, building pressure, and venting steam is a lot of process for a result you can get just as easily with a pot of water. It makes more sense if you’re already using the Instant Pot for something else and want to batch-cook a dozen eggs at once, less sense if hard-boiled eggs are the only reason it’s coming out of the cabinet.
The Trade-Off With a Hard Rolling Boil
Dropping eggs into water that’s already at a full, aggressive boil and cooking them for 12 minutes produced excellent texture — soft-but-set whites, creamy yolks, easy peeling. The downside is fragility. Eggs jostled by rapid boiling are more likely to crack, and a couple of mine did exactly that during testing. If you go this route, lower the eggs in gently with a slotted spoon rather than dropping them, and lift them out individually at the end instead of pouring the whole pot through a colander, which is where most cracks happen.
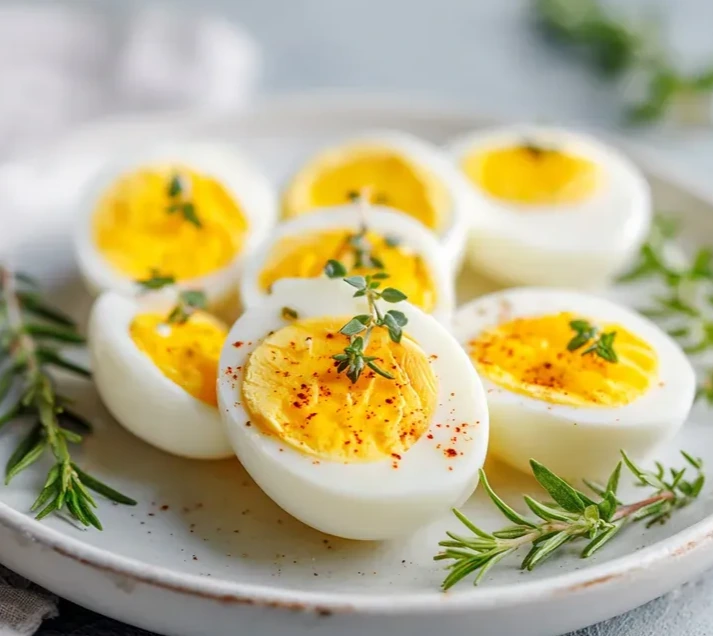
Getting the Shells Off Cleanly, Especially for Deviled Eggs
The ice bath matters more than most people give it credit for — ten full minutes, not a quick rinse, gives the shell time to contract away from the white. For deviled eggs specifically, where presentation actually matters, the boil-then-simmer or steaming methods make a real difference: cleaner whites mean halves that hold their shape instead of tearing at the edges. Crack the shell gently around the wider end first, where the air pocket sits, and peel under a thin stream of running water if the membrane is stubborn.
Adjusting Time for Egg Size, Quantity, and Altitude
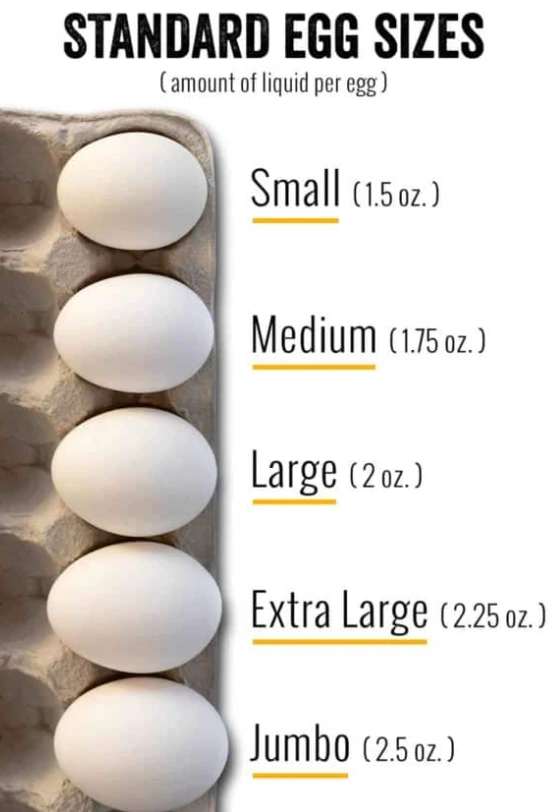
Twelve minutes assumes large eggs straight from the fridge. Extra-large eggs need roughly an extra minute; jumbo eggs closer to two. Cooking a dozen at once instead of four doesn’t change the timing once the water’s at temperature, but it does take longer to bring a larger volume back up to a boil after adding cold eggs, so build that in if you’re using the rolling-boil method specifically. At higher elevations, where water boils at a lower temperature, add a couple of minutes to compensate — the eggs will still cook, just more slowly.
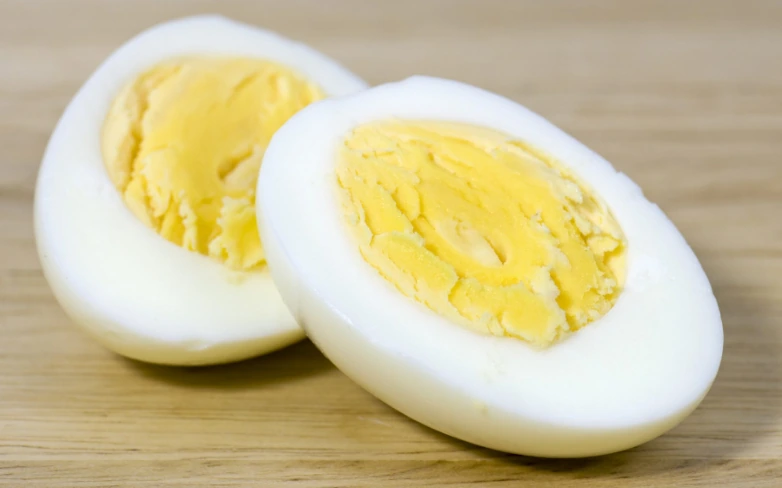
How long should you boil eggs for a hard yolk with no jammy center?
Twelve minutes at a simmer, after the water has returned to a full boil, consistently produces a fully set yolk without the chalky overcooked texture that comes from pushing past that point.
Why do some hard-boiled eggs peel easily and others don’t?
Fresher eggs tend to bond more tightly to their shells, while a proper ice bath and a forceful simmer rather than a gentle one both make the membrane release more cleanly.
The One Habit Worth Keeping
If you only change one thing about how you’ve always made hard-boiled eggs, make it this: stop simmering them from a cold start, and start dropping them into water that’s already boiling, then immediately lowering the heat. Everything else — air fryers, pressure cookers, fancy gadgets — is optional. A pot, a slotted spoon, and twelve minutes will get you there every time.